How to Plant a Tree
[copy on the importance of planting a tree right]
Planting step-by-step
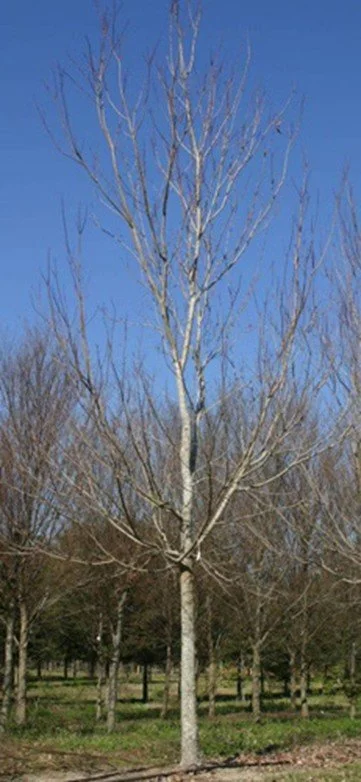
Selecting a quality tree
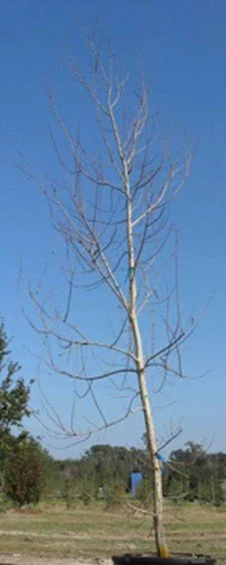
Planting quality trees begins by choosing vigorous, structurally sound trees from the nursery. Strong trees have straight roots, a thick trunk with taper, and a good branch structure appropriate for the species. Trees that become large at maturity are most durable when grown with one dominant trunk or leader to the top of the tree. The root collar or root flare (the point where the uppermost roots emerge from the trunk) should be in the top two inches of the root ball. Click the link below to find a comprehensive guide to tree selection.
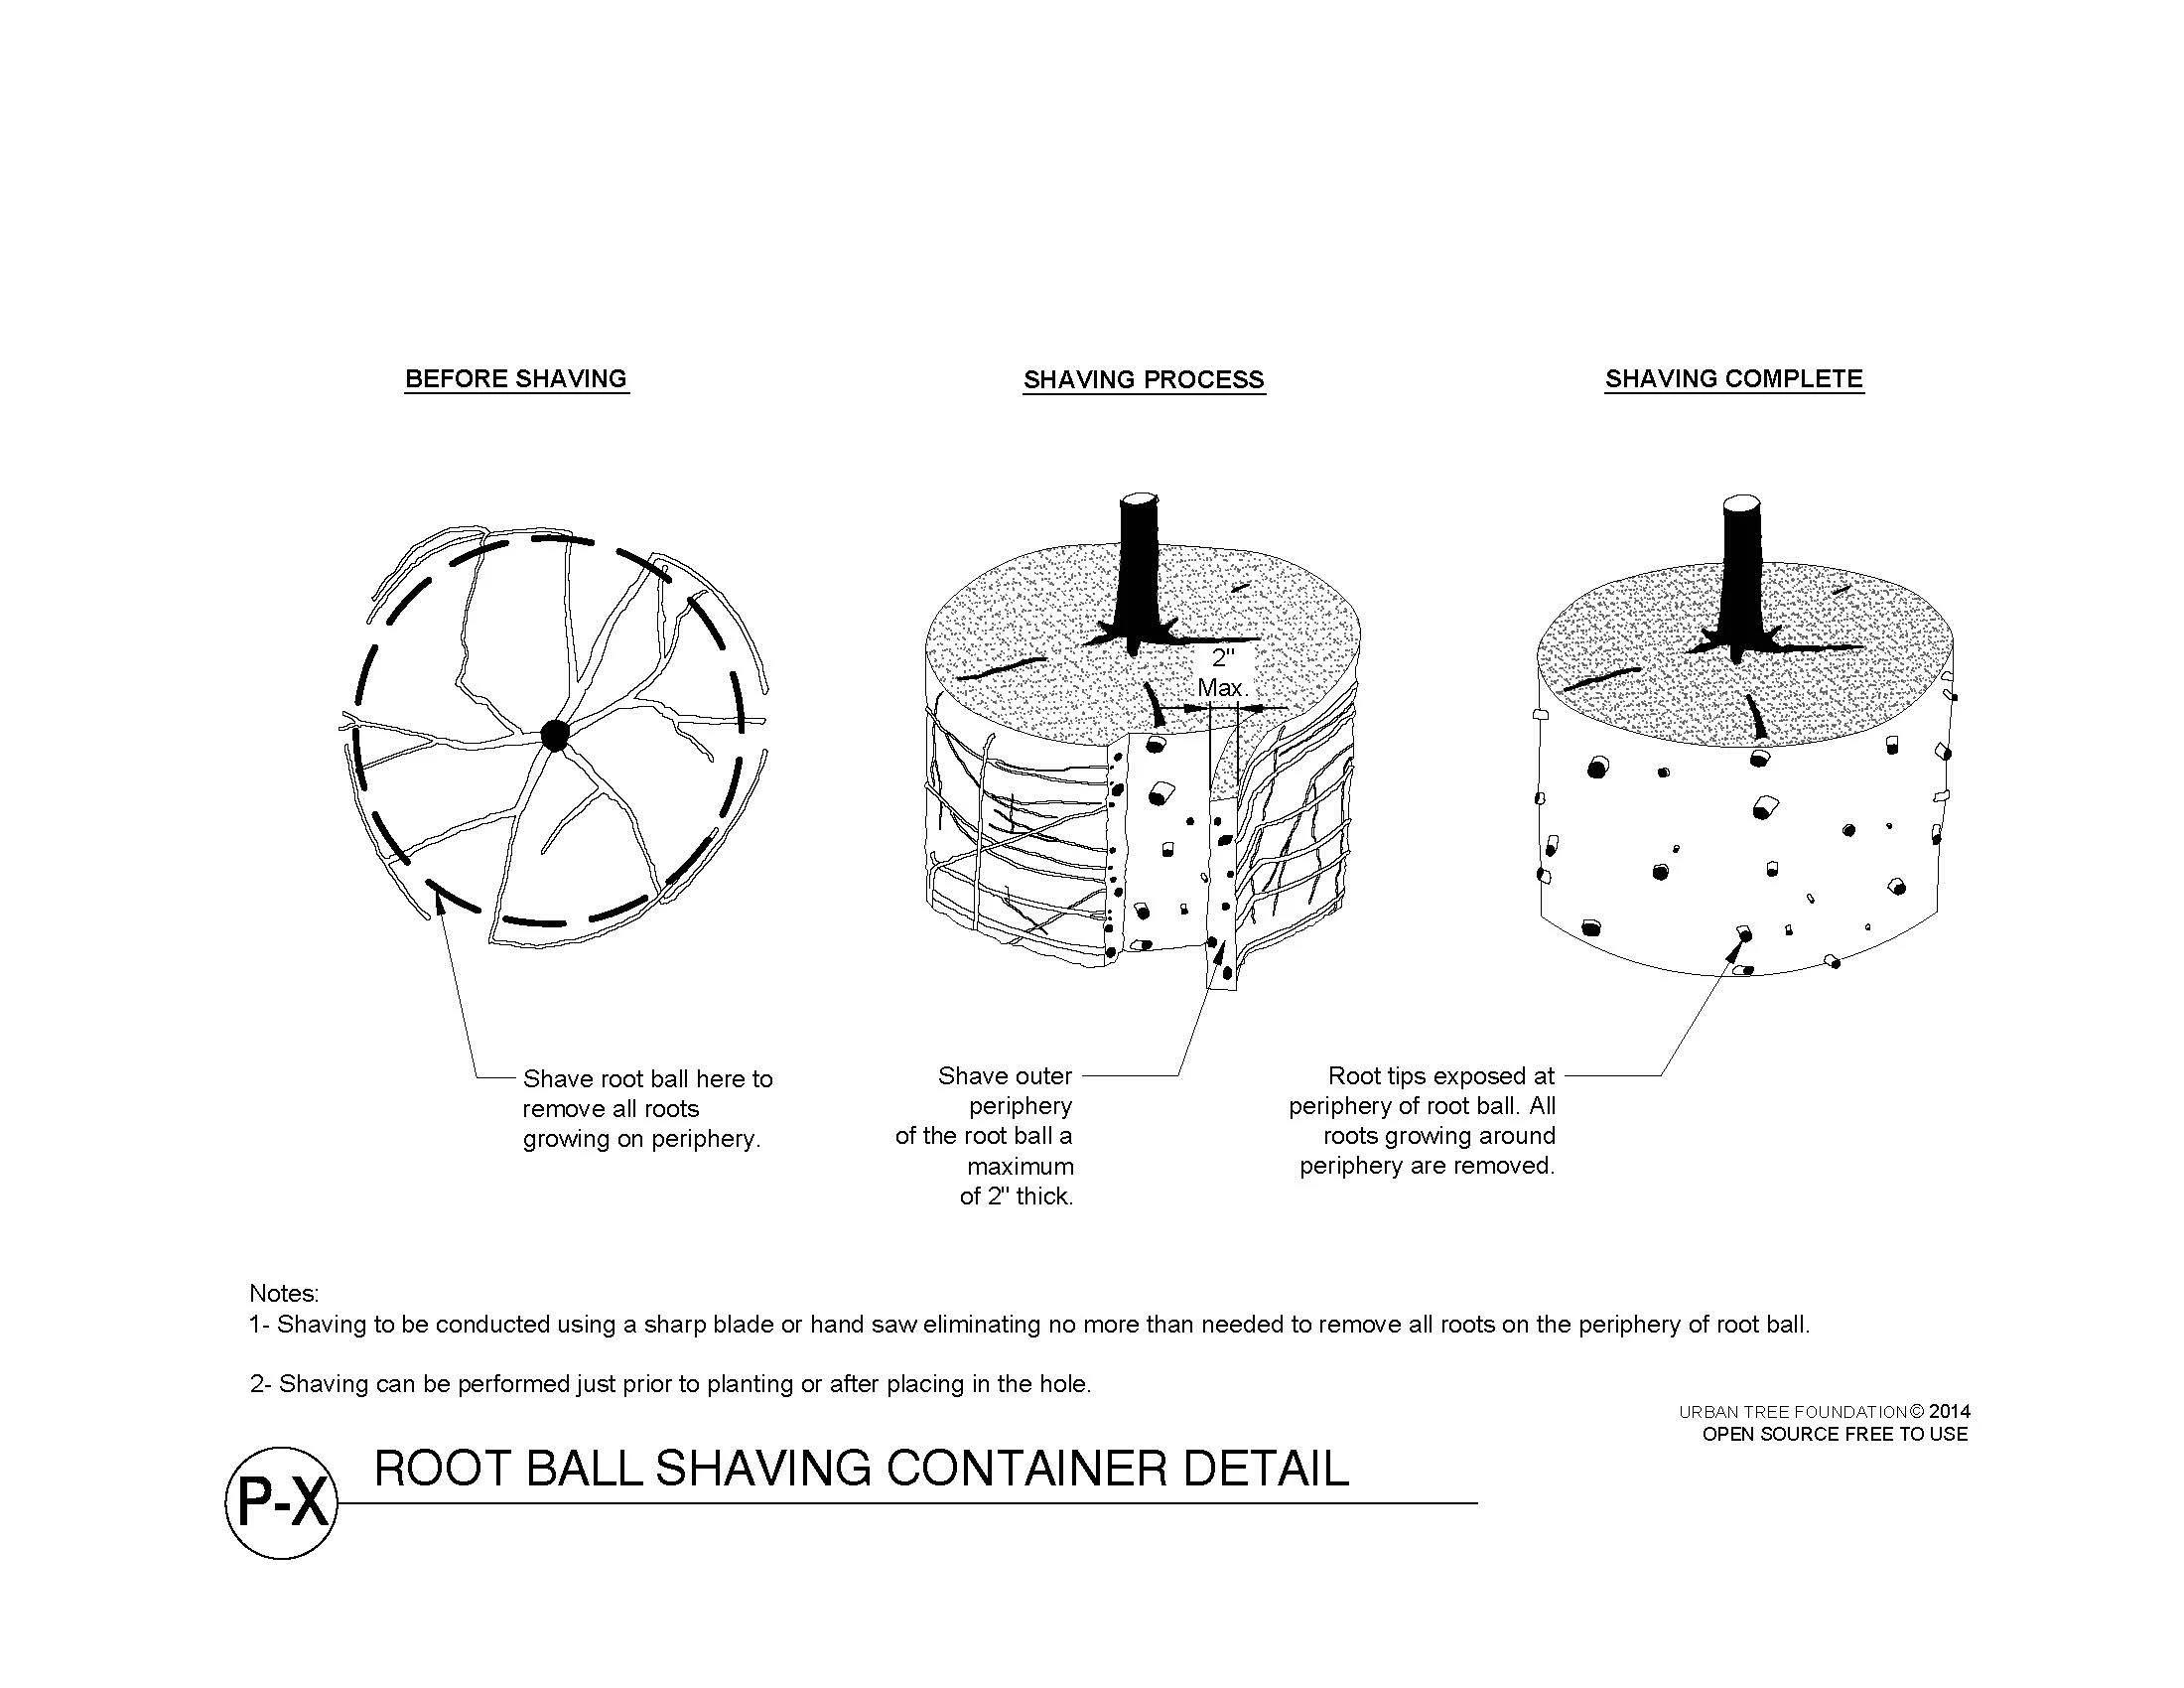
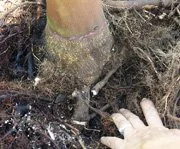
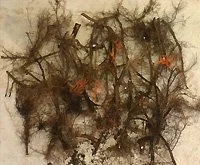
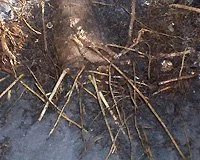
Remove substrate and crossing and circling roots from the top of the root ball with gloves and a hand pruner. This can be performed when the tree is in or out of the container. The goal is to remove these defective roots to find the point where the top-most woody root(s) meets the trunk (Figure 1). This point should be no more than two inches below the surface. These retained woody roots should be as straight as possible. Presence of a swollen region near the root/trunk interface (root flare- Figure 1) may be visible but is typically absent in young nursery trees.
Preparing the tree for planting
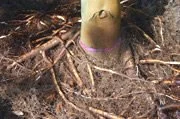
Roots growing over collar
Roots being pruned
Roots removed from the top of the root ball following root pruning.
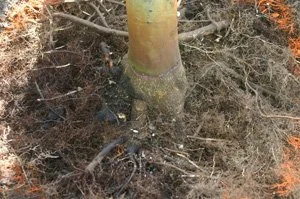
Root collar exposed
Figure 1: Roots growing over the root collar
The tree on the left has roots growing over the collar that must be dealt with to prevent the tree from developing major root defects. Prune these taproots until the root collar is exposed.
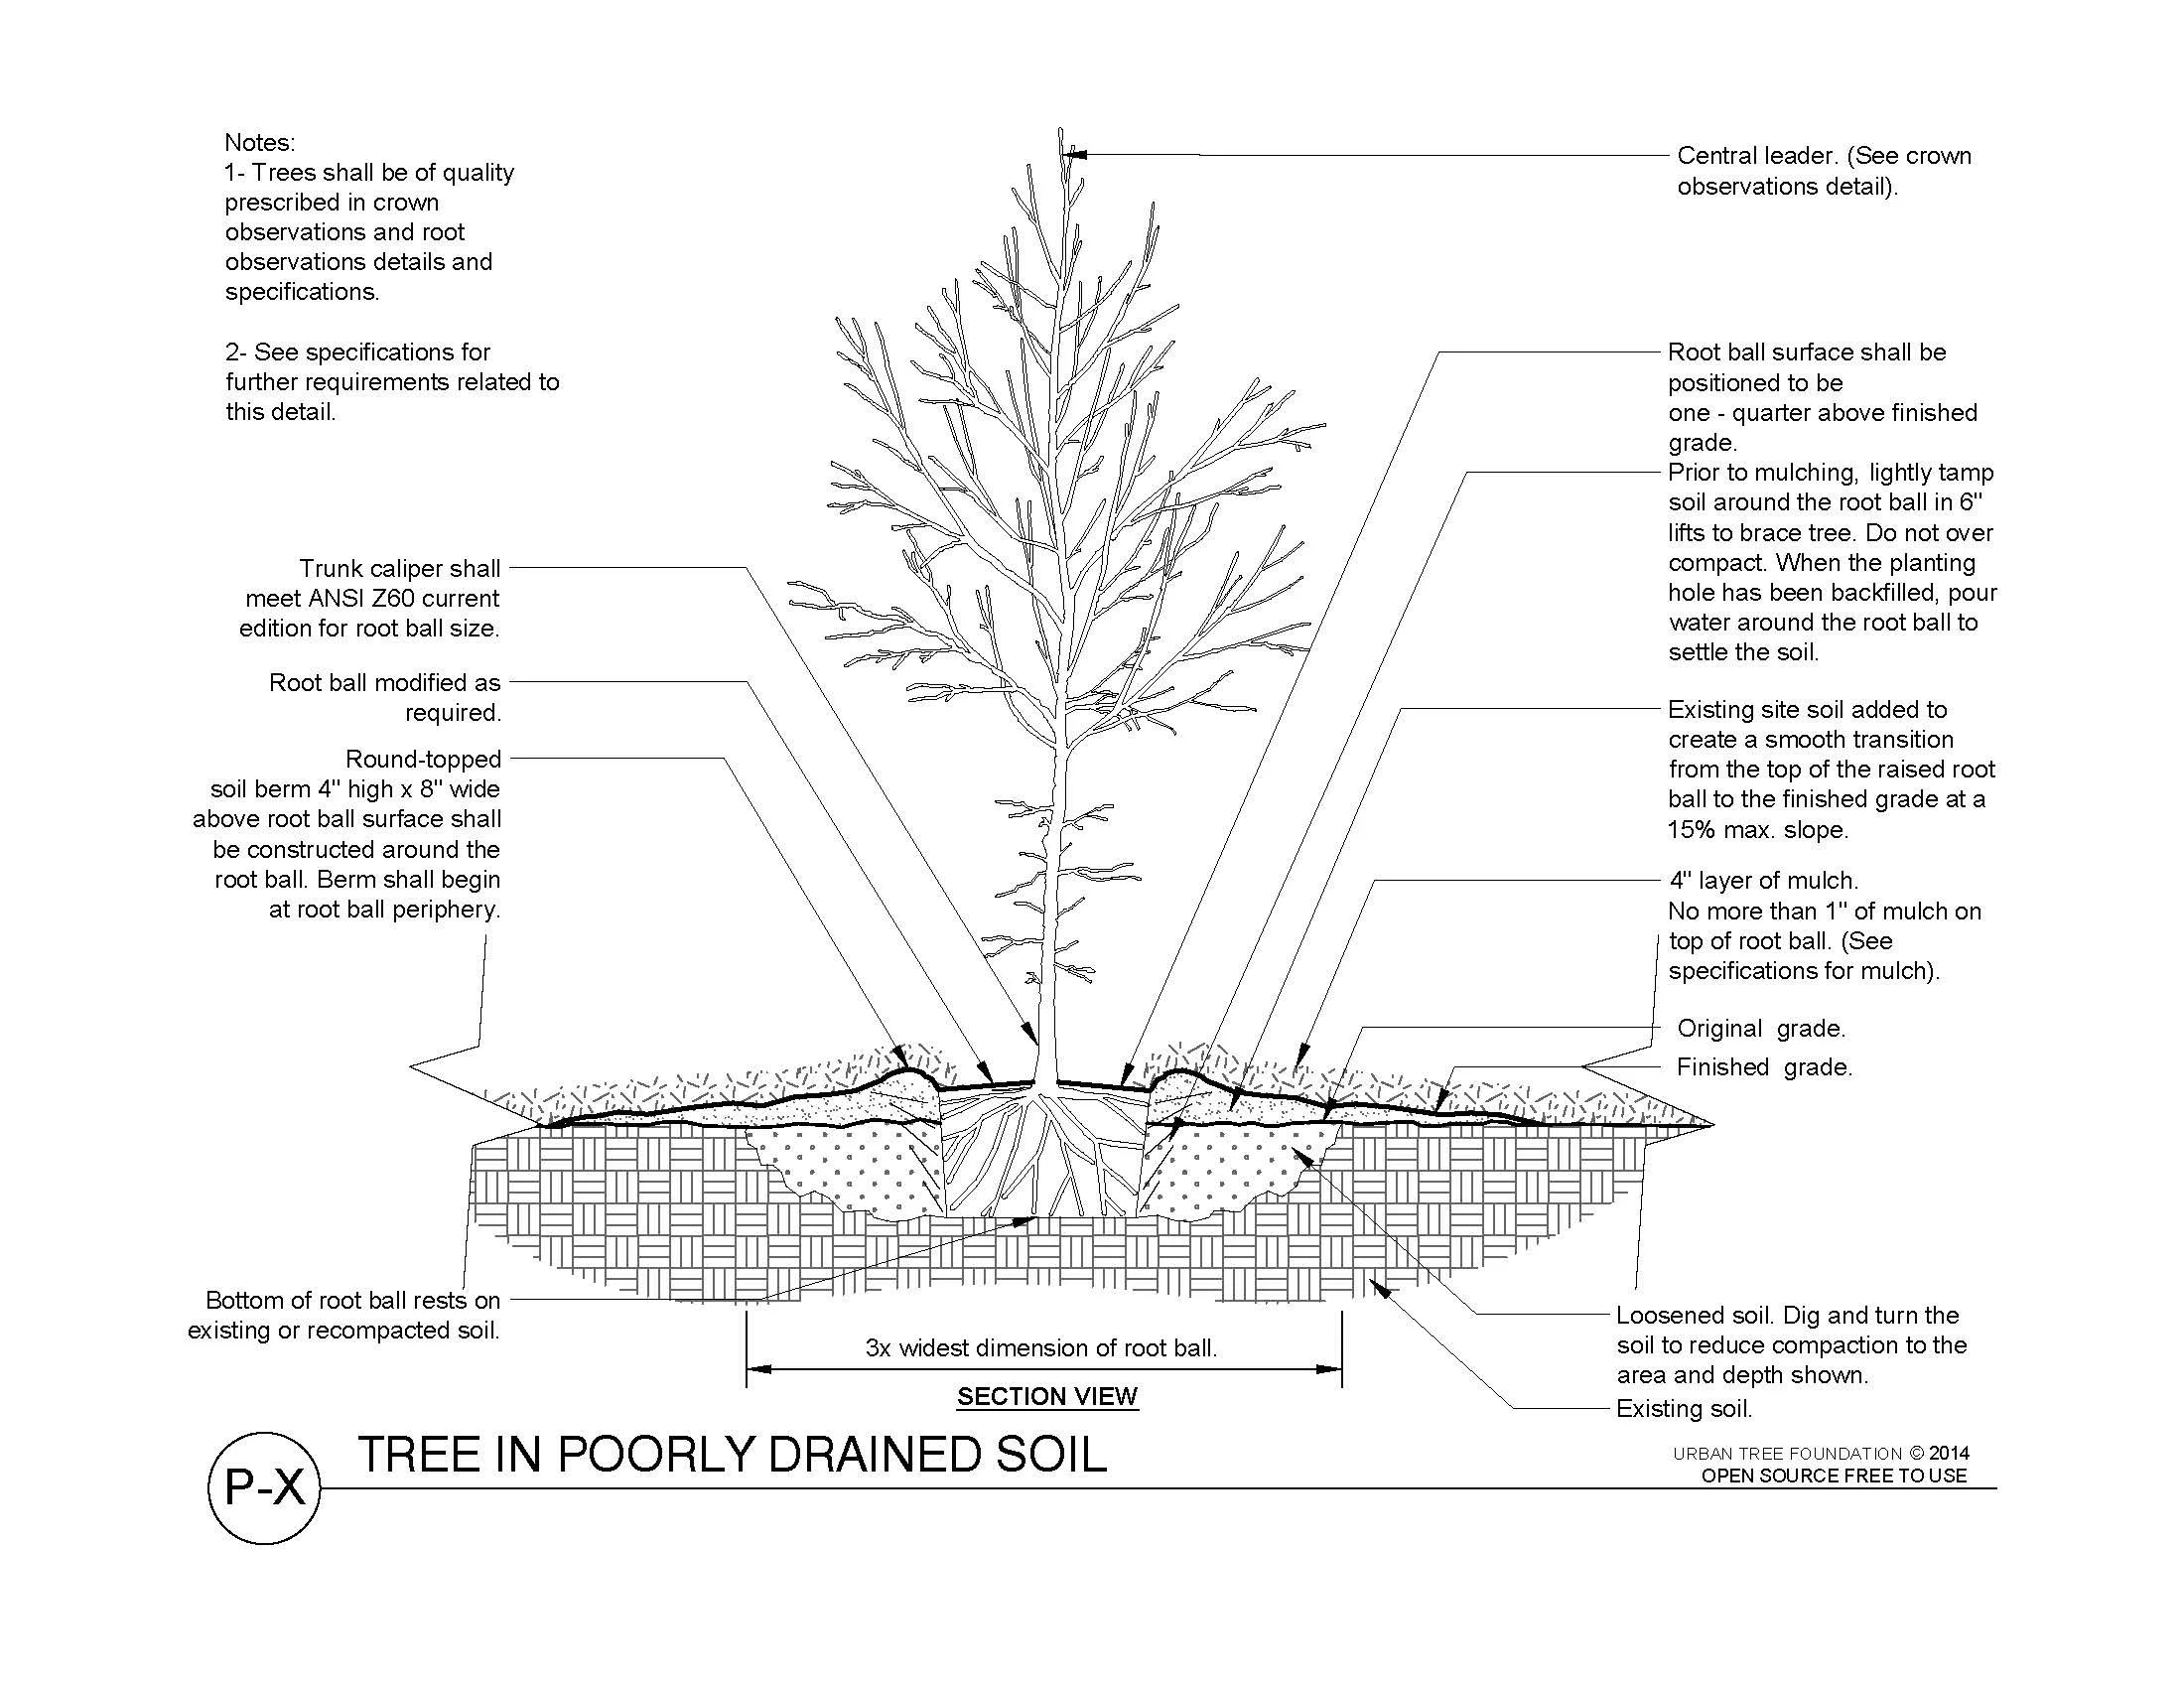
A firm, flat-bottomed hole will prevent trees from sinking (Figure 2). Measure the distance from top to bottom of the treated root ball and dig the hole this deep. The hole should only be deep enough to position the top of the root ball even with the landscape soil surface. If the hole was dug too deep, add soil and pack with your feet. Dig the hole a couple of inches wider than the root ball. The hole can be dug two or three times the diameter of the root ball but this is a lot of work and is not necessary. Instead, soil will be loosened around the ball in the next step.
Digging the hole

Figure 2: A well-dug hole
The tree on the left has roots growing over the collar that must be dealt with to prevent the tree from developing major root defects. Prune these taproots until the root collar is exposed.
Installing the tree
Many large roots growing on the outer edge of root ball (see finger for scale)
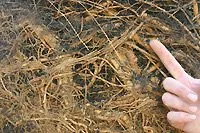
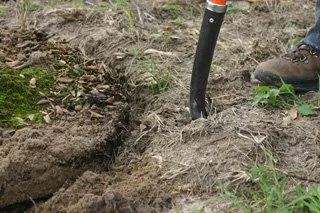
Figure 5: Backfilling the hole
STEP FOUR
Minimize air pockets by gently packing with your foot and/or applying water. Build a berm no more than four inches tall at the edge of the root ball to force applied water through the root ball. Enlarge the berm as the tree establishes.
Shaving outer roots with a straight shovel immediately after planting
[Might be nice to have a sentence or two of copy (i.e. Installing a tree properly ensures the root system of the tree can develop.. etc) to match the text pattern of the other steps]
STEP ONE
Place the top of the treated root ball even with or slightly above the landscape soil (Figure 3).
STEP TWO
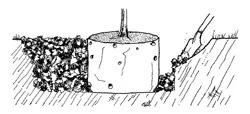
Prune away all roots on the outer edge of the root ball. Pruning roots that grow on the outer edge of the root ball is best accomplished by shaving the root ball using a shovel (Figure 4). Shave while stabilizing the root ball with a friend or shovel soil from the side of the hole against the root ball. New roots quickly grow outwards from the root ball edge and into the loosened backfill soil and landscape (Figure 4). Slicing up and down the root ball is less effective than shaving.
Two inches of the outer edge shaved from the root ball
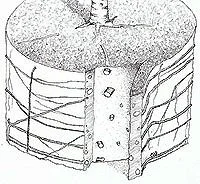
Figure 4: Shaving the root ball
Using backfill soil to stabilize root ball for shaving (shaving can also be done before adding backfill).
Top of treated root ball level with ground
STEP THREE
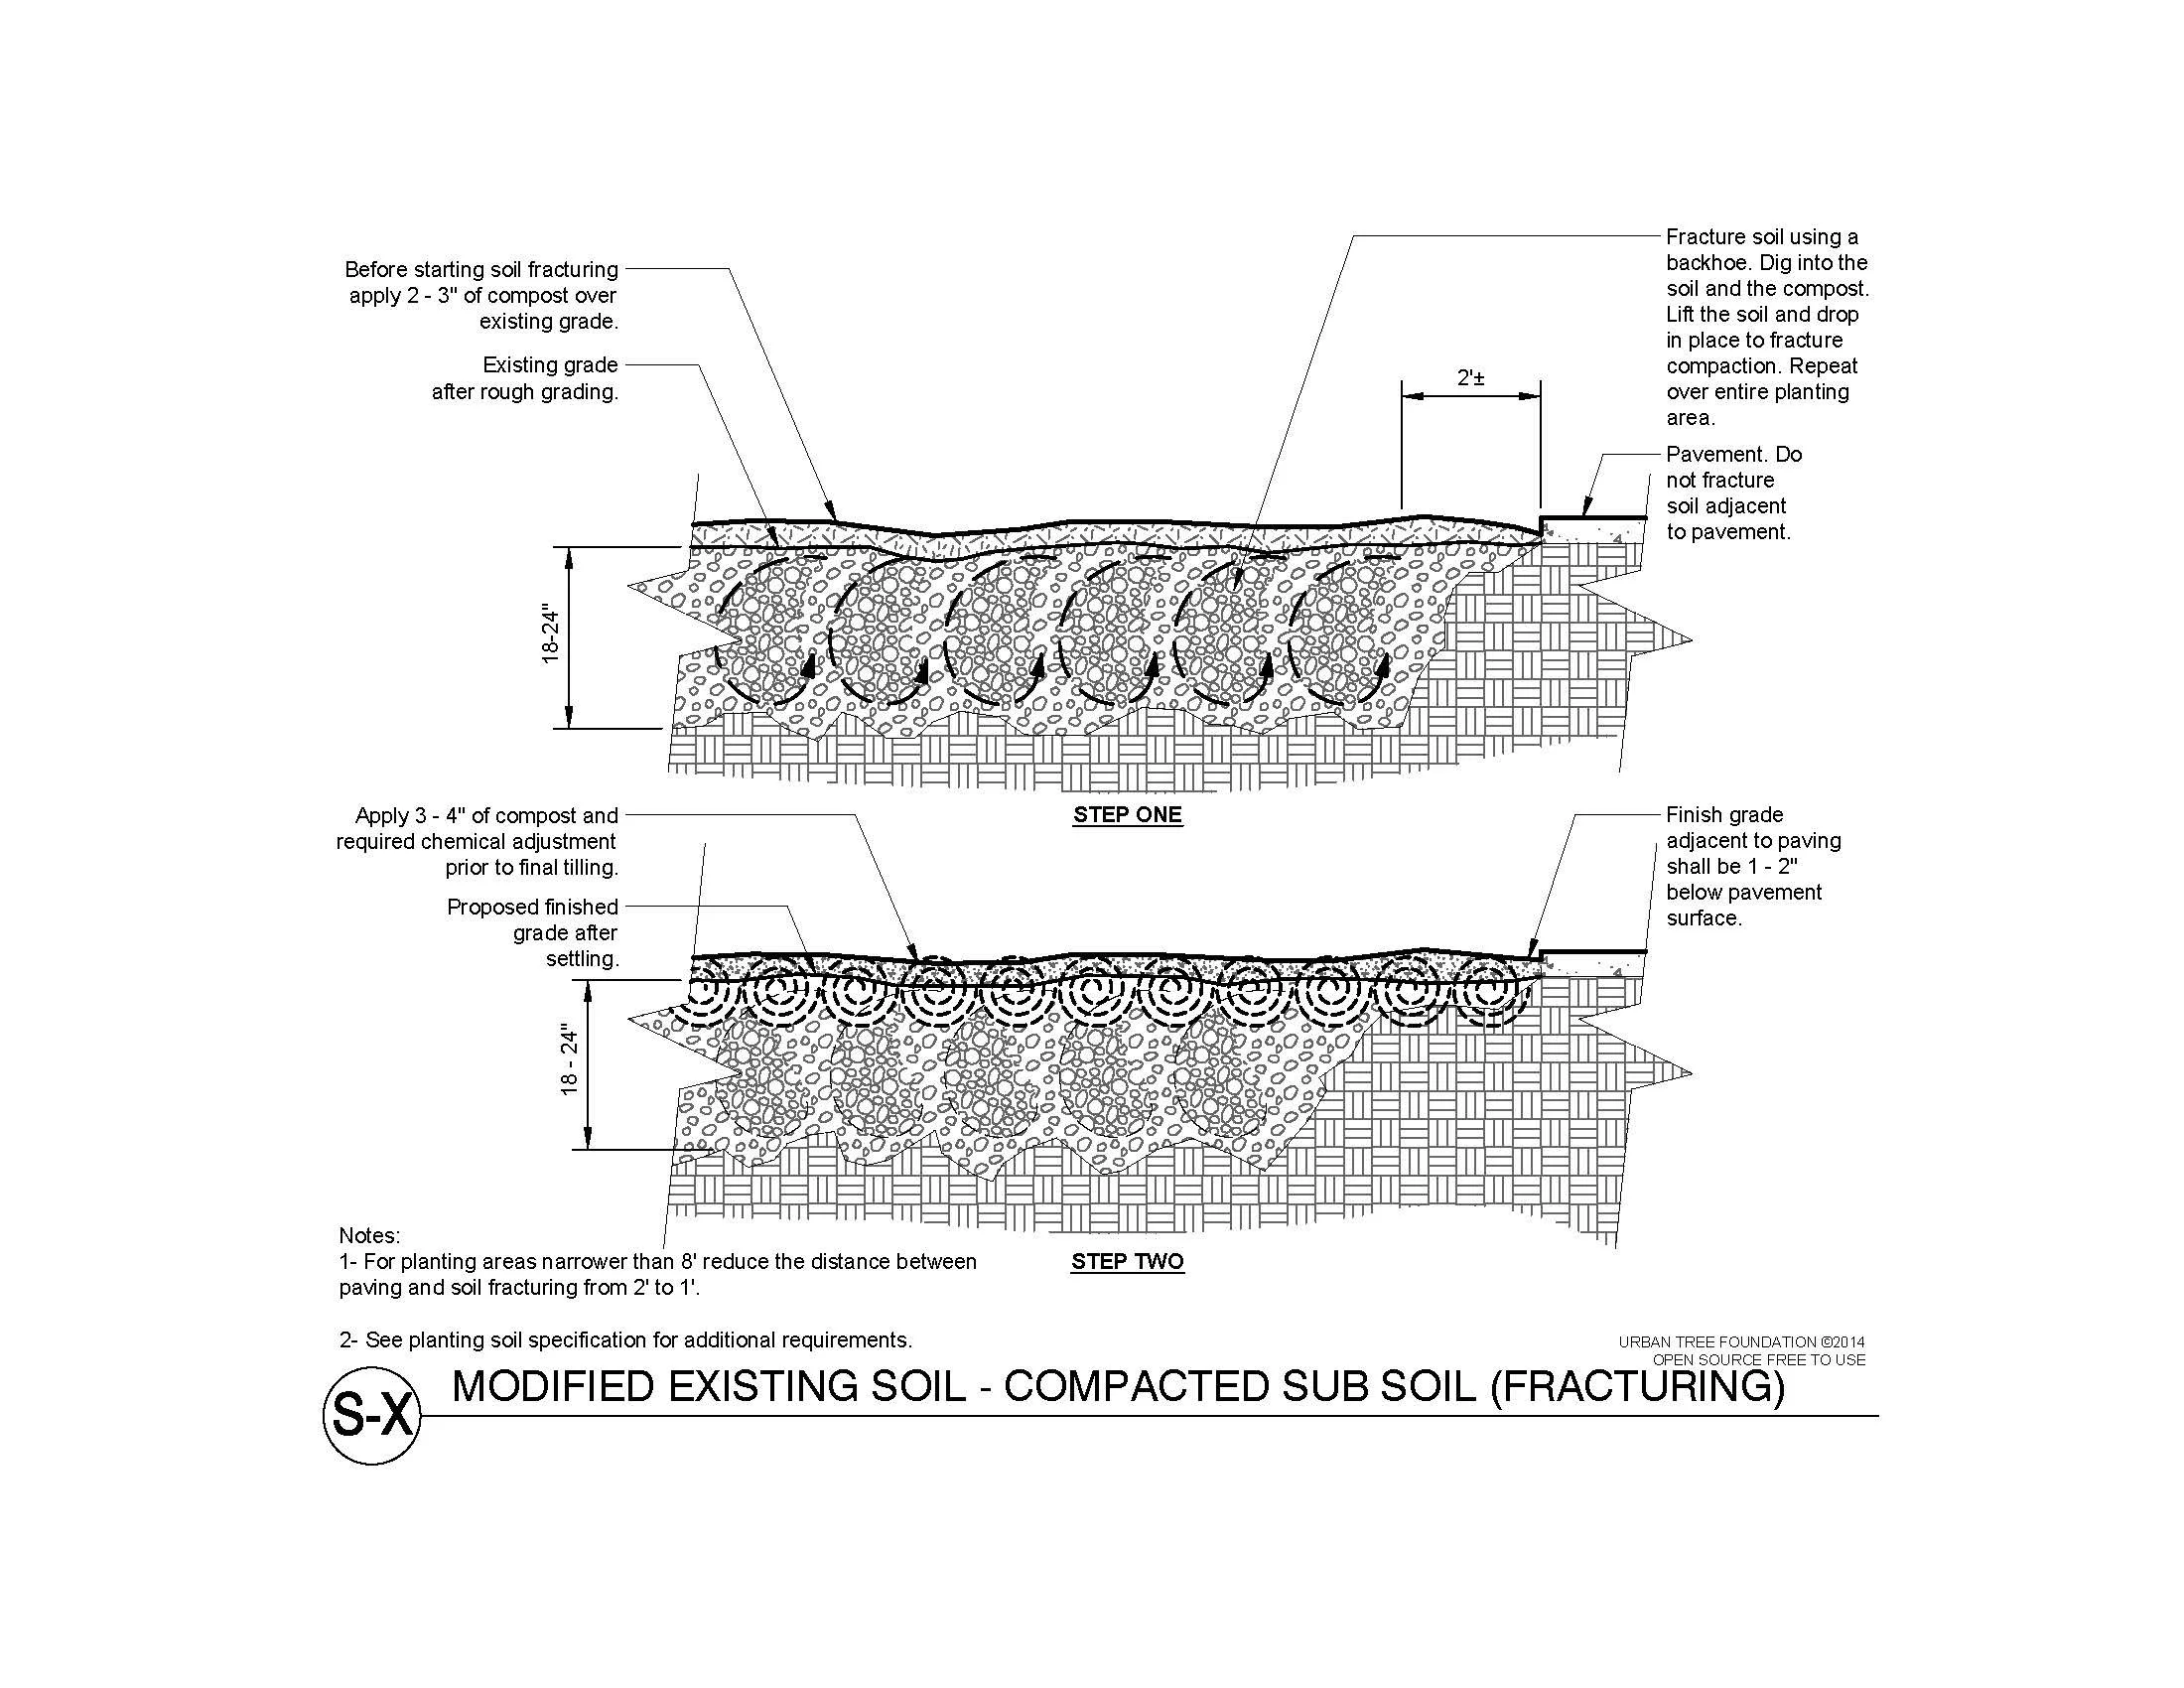
Push existing landscape soil toward the root ball using a shovel by slicing into existing soil (Figure 5). This loosens the soil around the tree which encourages rapid root growth into the landscape. Loosen an area representing at least three times the root ball diameter. For example, the loosened soil area around a 5-gallon tree should be about three feet in diameter. The larger the area that is loosened the better the root growth. Use substrate that was removed from the top while treating root defects to cover roots exposed at the top of the ball.
Undisturbed soil
Loosened soil
Mulching
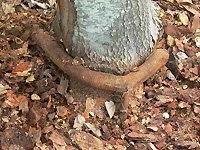
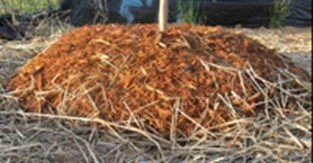
Figure 6: Mulching technique
Poor
Mulching up to the trunk causes the roots to girdle the trunk and kill the tree.
Good
A thin layer of mulch leaves the root flare exposed.
A layer of organic mulch, such as leaf litter, shredded bark, or wood chips, helps protect tree roots from temperature extremes and conserves soil moisture. Do not use compost. Mulch also helps prevent grass and weeds from competing with the tree for water and nutrients. The mulched area makes it easier to operate mowers and weed eaters without hitting the trunk and compacting soil.
Mulch should be applied around the root ball to control weeds and conserve soil moisture. A 3- to 4-inch-deep layer is best but apply only a thin layer of about one inch to the root ball surface for decorative purposes (Figure 6, right). Applying excess mulch on the root ball surface can repel water, retain water meant for the root ball, and encourage formation of stem girdling roots (Figure 6, middle and left).
Irrigating
Consistent irrigation is critical for establishment.
1. Apply about three gallons irrigation per inch of trunk diameter to the root ball two or three times a week for the first growing season.
2. Increase volume and decrease frequency as the tree becomes established.
3. Weekly irrigation the second year and bimonthly irrigation the third year should be sufficient for establishment.
4. Once established, irrigation requirements depend on species, climate and soil conditions.
5. Irrigation devices should be regularly checked for breaks and leaks.
Pruning
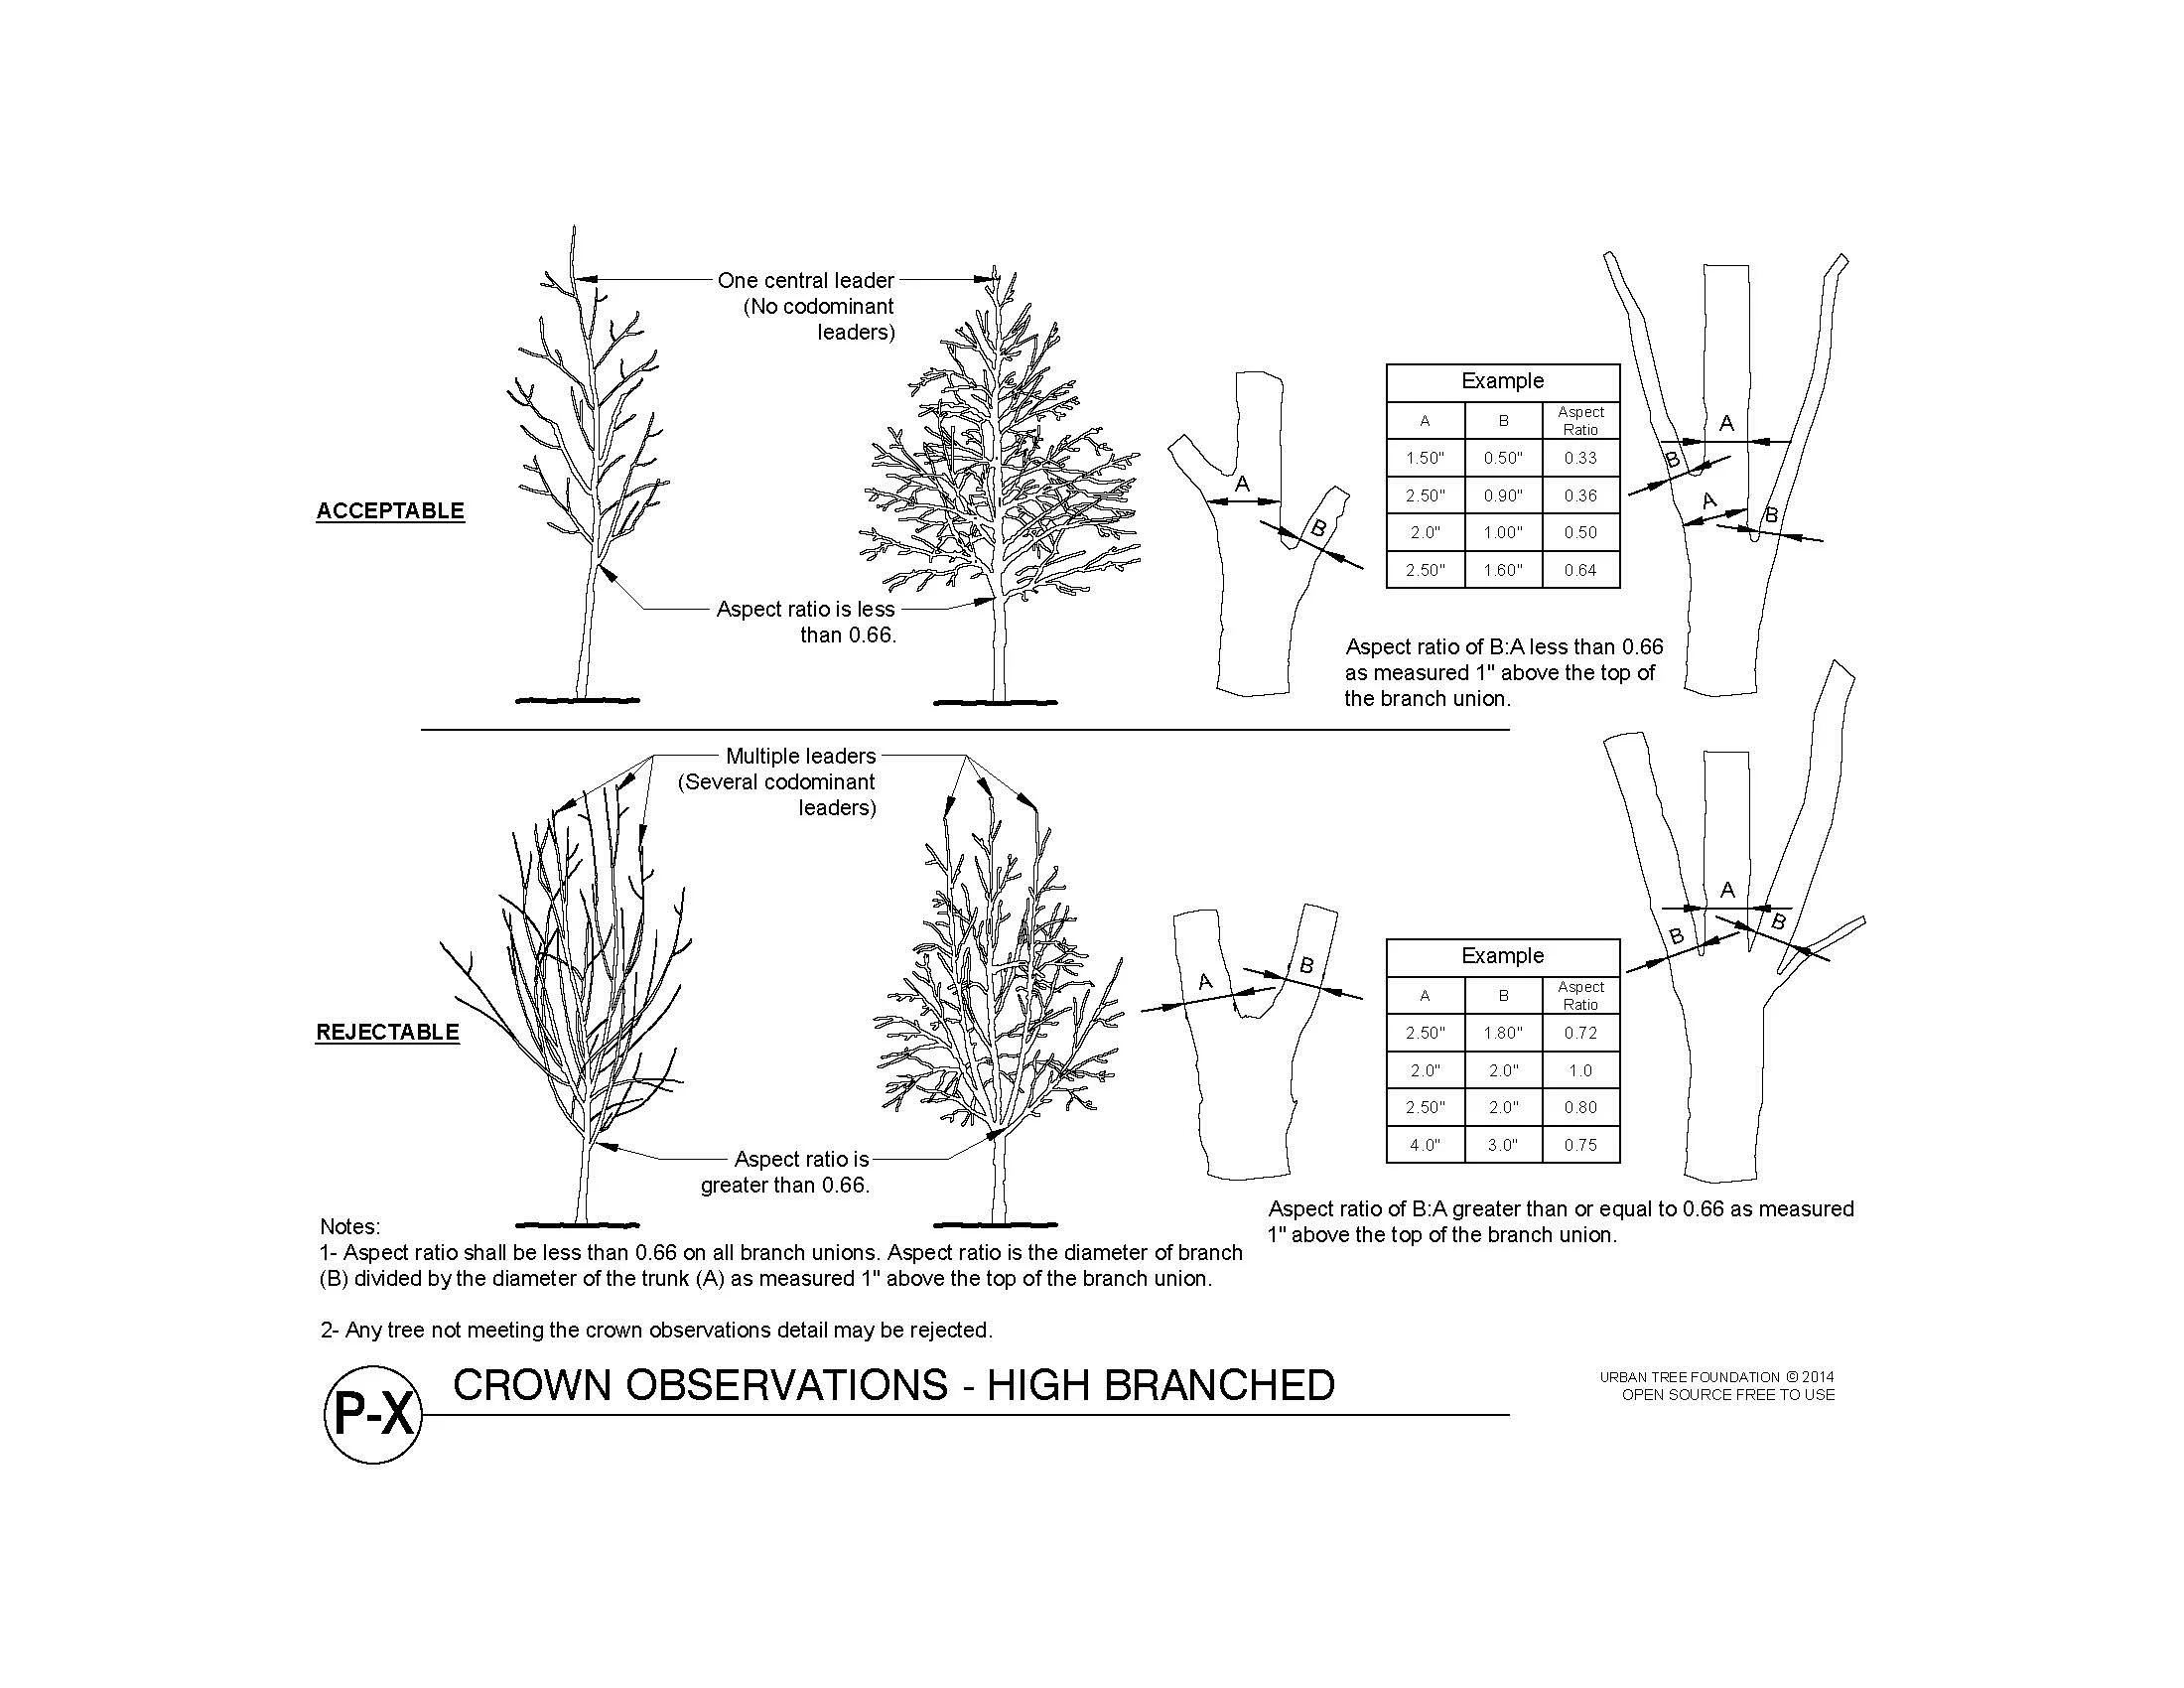
Why it matters: Trees in Figure 7 shows why trees should be pruned at planting. The codominant stems were present on the tree at planting (left) but they were not pruned. The right photograph shows the tree five years later. The architecture is weak due to the two co-dominant stems. This is avoidable.
Figure 7.
The tree on the left was planted into the ground. Notice the small current-year codominant stems at the very top of the tree. Photograph at right shows the tree five years later with codominant stems growing from what was the top of the original nursery tree. This is poor tree architecture, and it could have been prevented by pruning at planting. Structure is weak due to the two co-dominant stems. This is avoidable.
Even small diameter (pencil size) stems that are the same size as the leader can occur in the top half of the crown on high-quality nursery stock. These could eventually develop into one or more codominant stems (Figure 7, left) if they are not pruned at planting. Some pruning at planting is almost always necessary because it is unreasonable to ask growers to prune every tree with one perfect dominant leader to the very top of the crown.
Be prepared to develop good structure after planting if there are few nurseries that carry a particular species with suitable trunk and branch structure. Pruning can begin when the tree is planted. When you see that pruning is needed to correct trunk or branch defects on a freshly planted tree, and you will not be able to prune the tree for several years, prune it at planting to correct the problem. If you wait, it may develop defects that are more difficult to correct (Figure 7).
How to prune at planting. Training young trees to one dominant trunk promotes durable architecture and overall tree health. To achieve this architecture, shorten or remove upright codominant stems that compete with the leader (Figure 8). If both stems are of equal diameter, pick one as the leader and reduce the length of or remove the other. Large-diameter branches – especially those in the bottom half of the tree – should be reduced in length using reduction cuts back to smaller lateral branches. In some cases, these can be removed from the trunk.
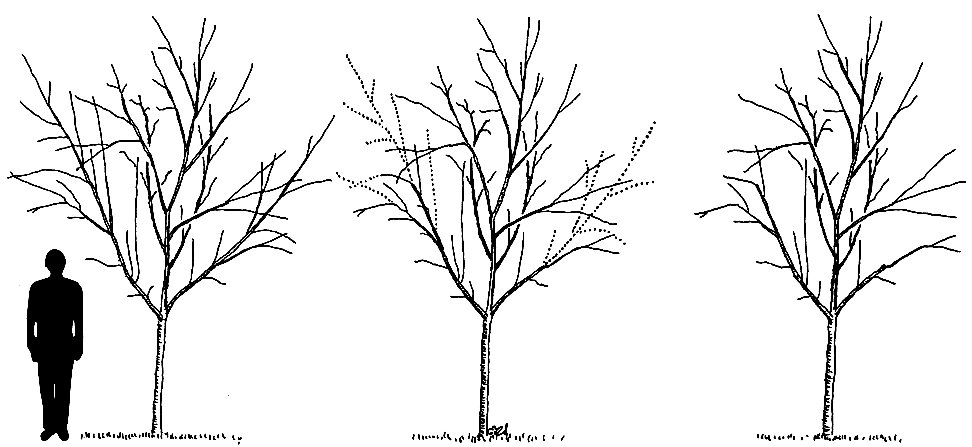
Figure 8: Before and after pruning
Before pruning there were three leaders (left). One was selected as the dominant central leader, and three were reduced in length using reduction cuts (center). After pruning there was a dominant leader in the center of the crown (right).
This approach 1) slows growth on the pruned branch and 2) allows more sunlight to reach the branches on the leader (Figure 9). Increased sunlight on the leader enhances growth on the leader; this is the objective. Pruning codominant stems and large-diameter branches in this manner encourages growth in the one leader you chose to be dominant.
Let’s look closely at one example in Figure 9. The high-quality nursery tree on the left has one dominant leader almost to the top of the tree. Two current-year stems are equally dominant in the very top of the crown, and there are many stems and branches just below this point that are growing upright. Unless pruned, these will form several codominant stems, all originated from the top of the original nursery tree. Prune at planting to eliminate these. Although reduction cuts are preferable, heading cuts are sometimes necessary when lateral branches are absent.
Figure 9: Before and after pruning
Pruning at planting leaves on dominant leader to the top of the tree. Heading cuts were used near the top of the tree because there were no later branches to cut back to.
The leader may not grow correctly when several branches are clustered together at one point on the trunk. In these cases, remove some (typically one or two) branches in the cluster entirely back to the trunk and reduce others so water and nutrients can reach the leader. A combination of reducing and removing fast-growing (the largest) branches clustered together forces growth in one dominant trunk
(Figure 10).
Planting Details and Specifications
-
![]()
Tree Planting
-
![]()
Shrub Planting
-
![]()
Soil Amendment
-
![]()
Planting on a Slope
-
![]()
Pre-Planting Modifications
-
![]()
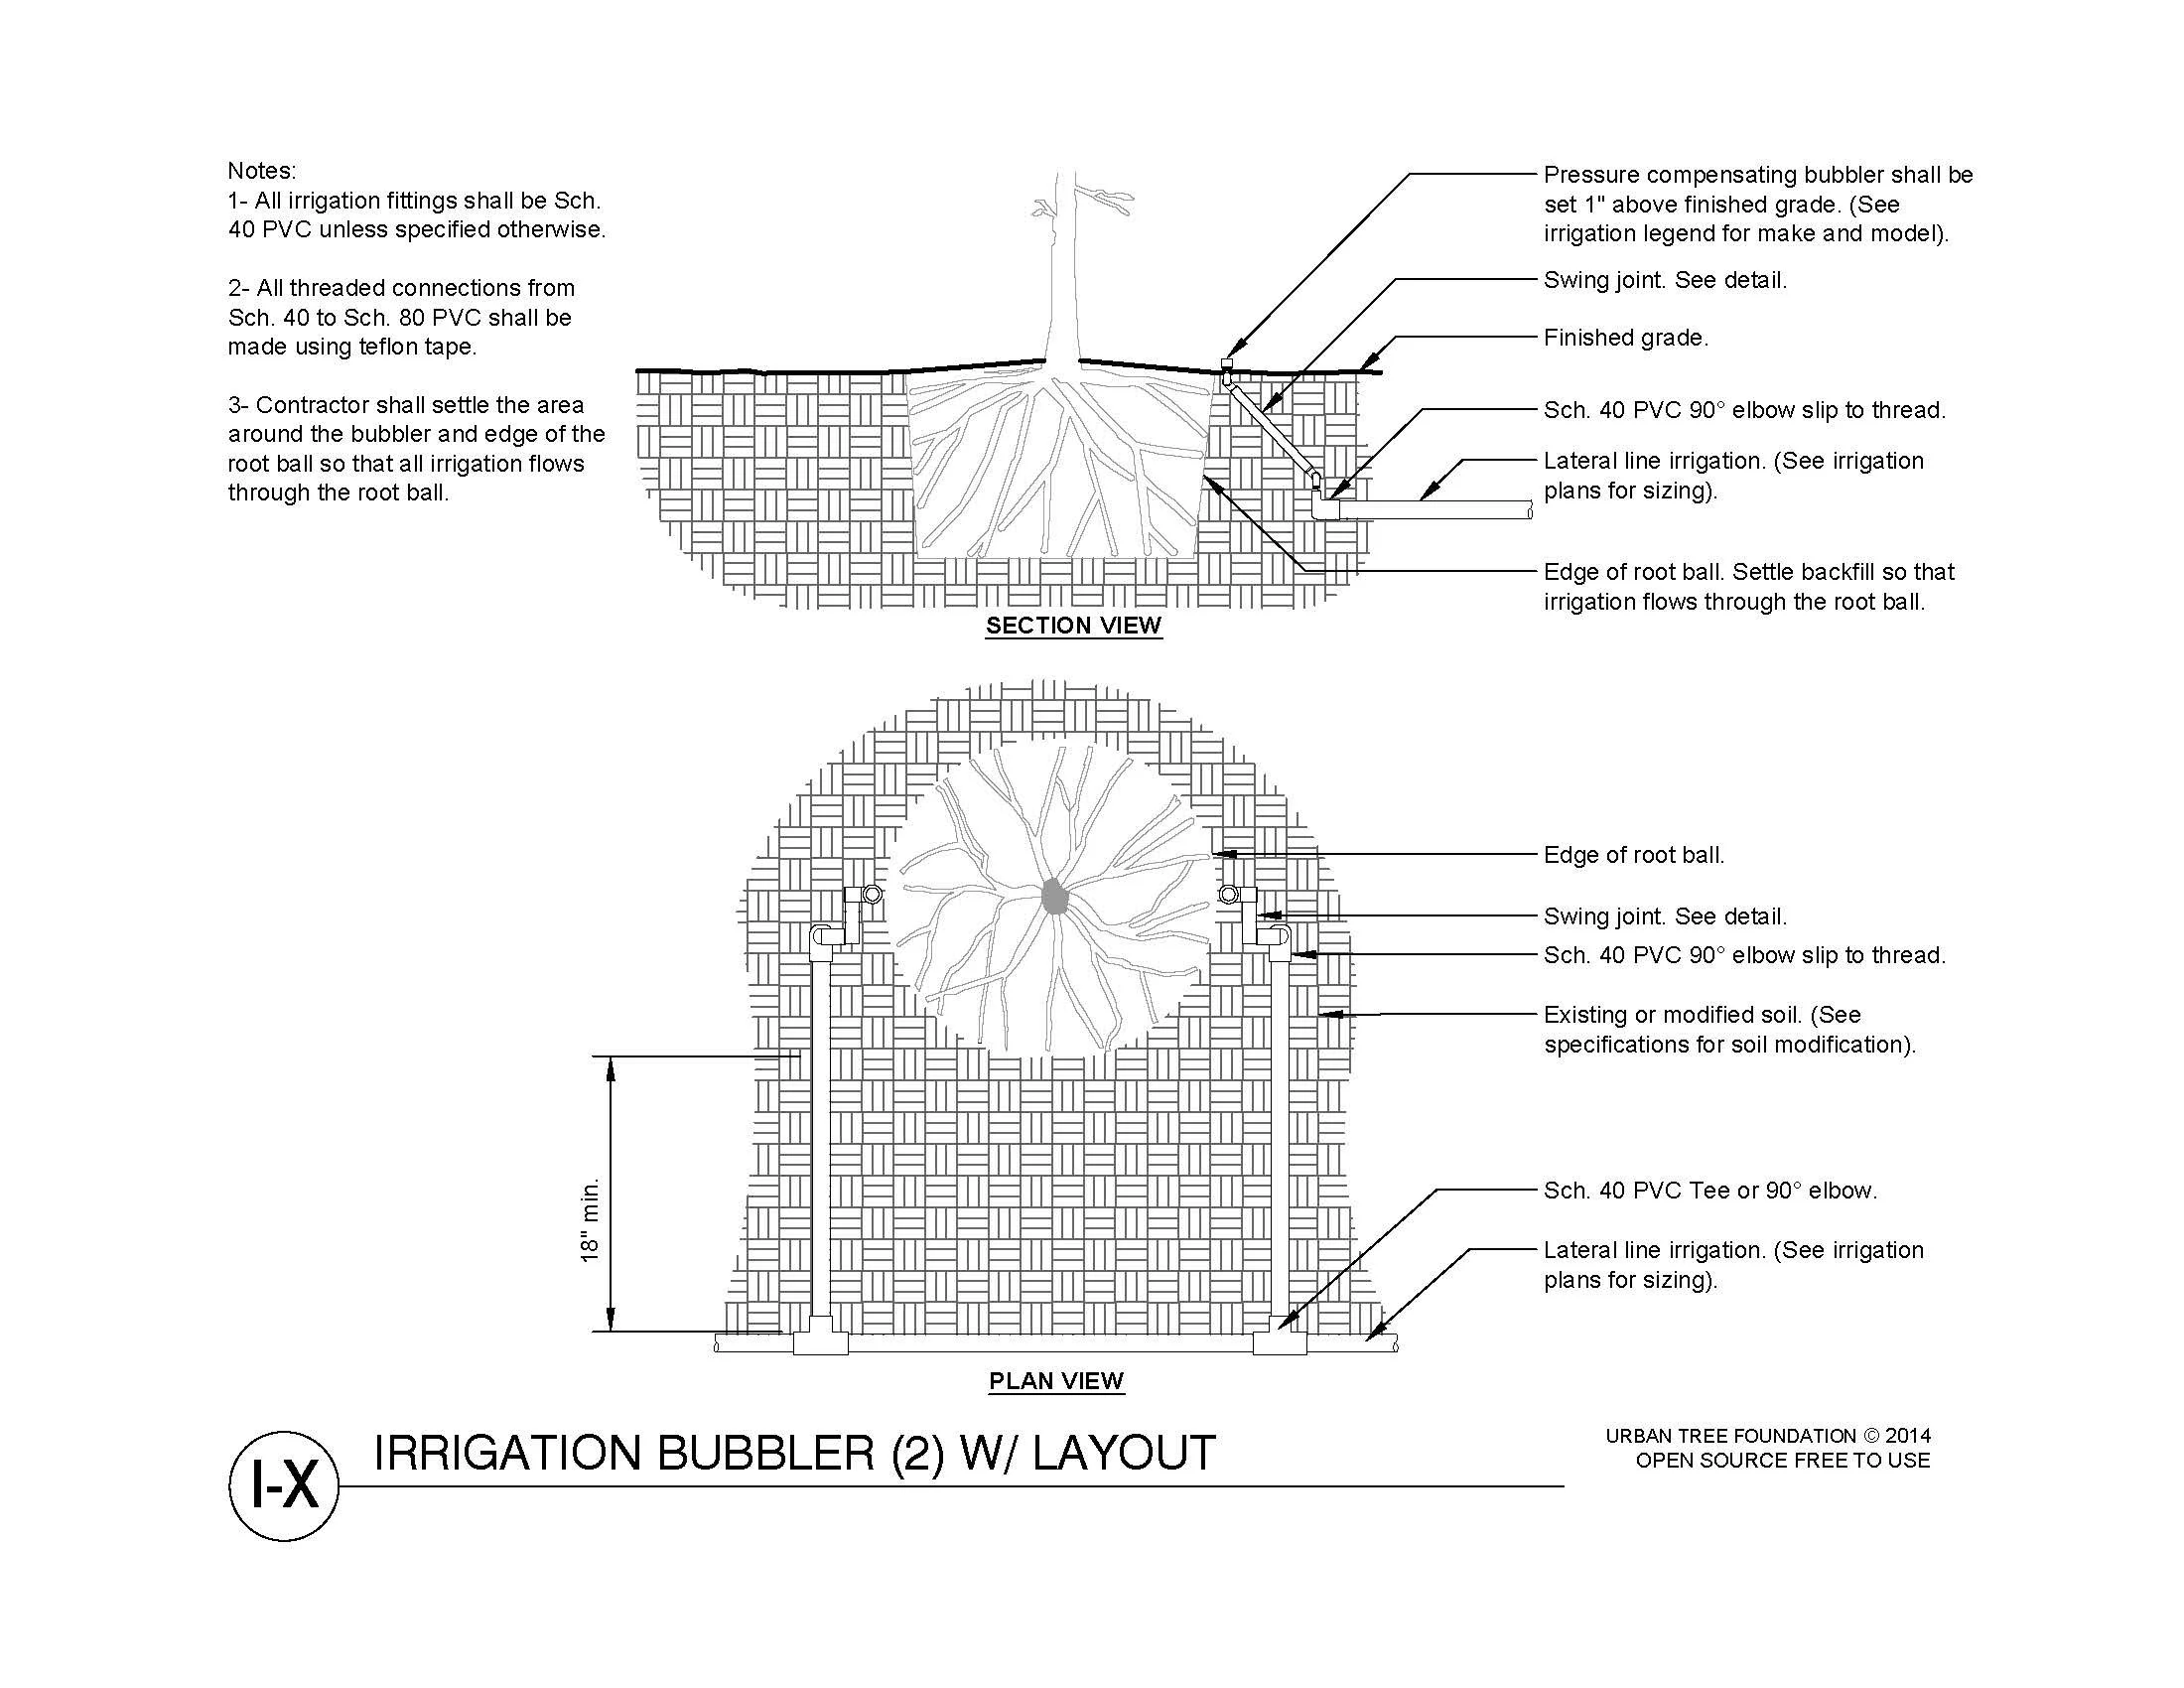
Irrigation
-
![]()
Tree Protection